
QuickBooks Online Integration
Connect worxTMS to your QuickBooks Online (QBO) accounting system to manage customers, products and services, and invoice synchronisation directly through your worxTMS workflow.
Connecting QuickBooks Online
1
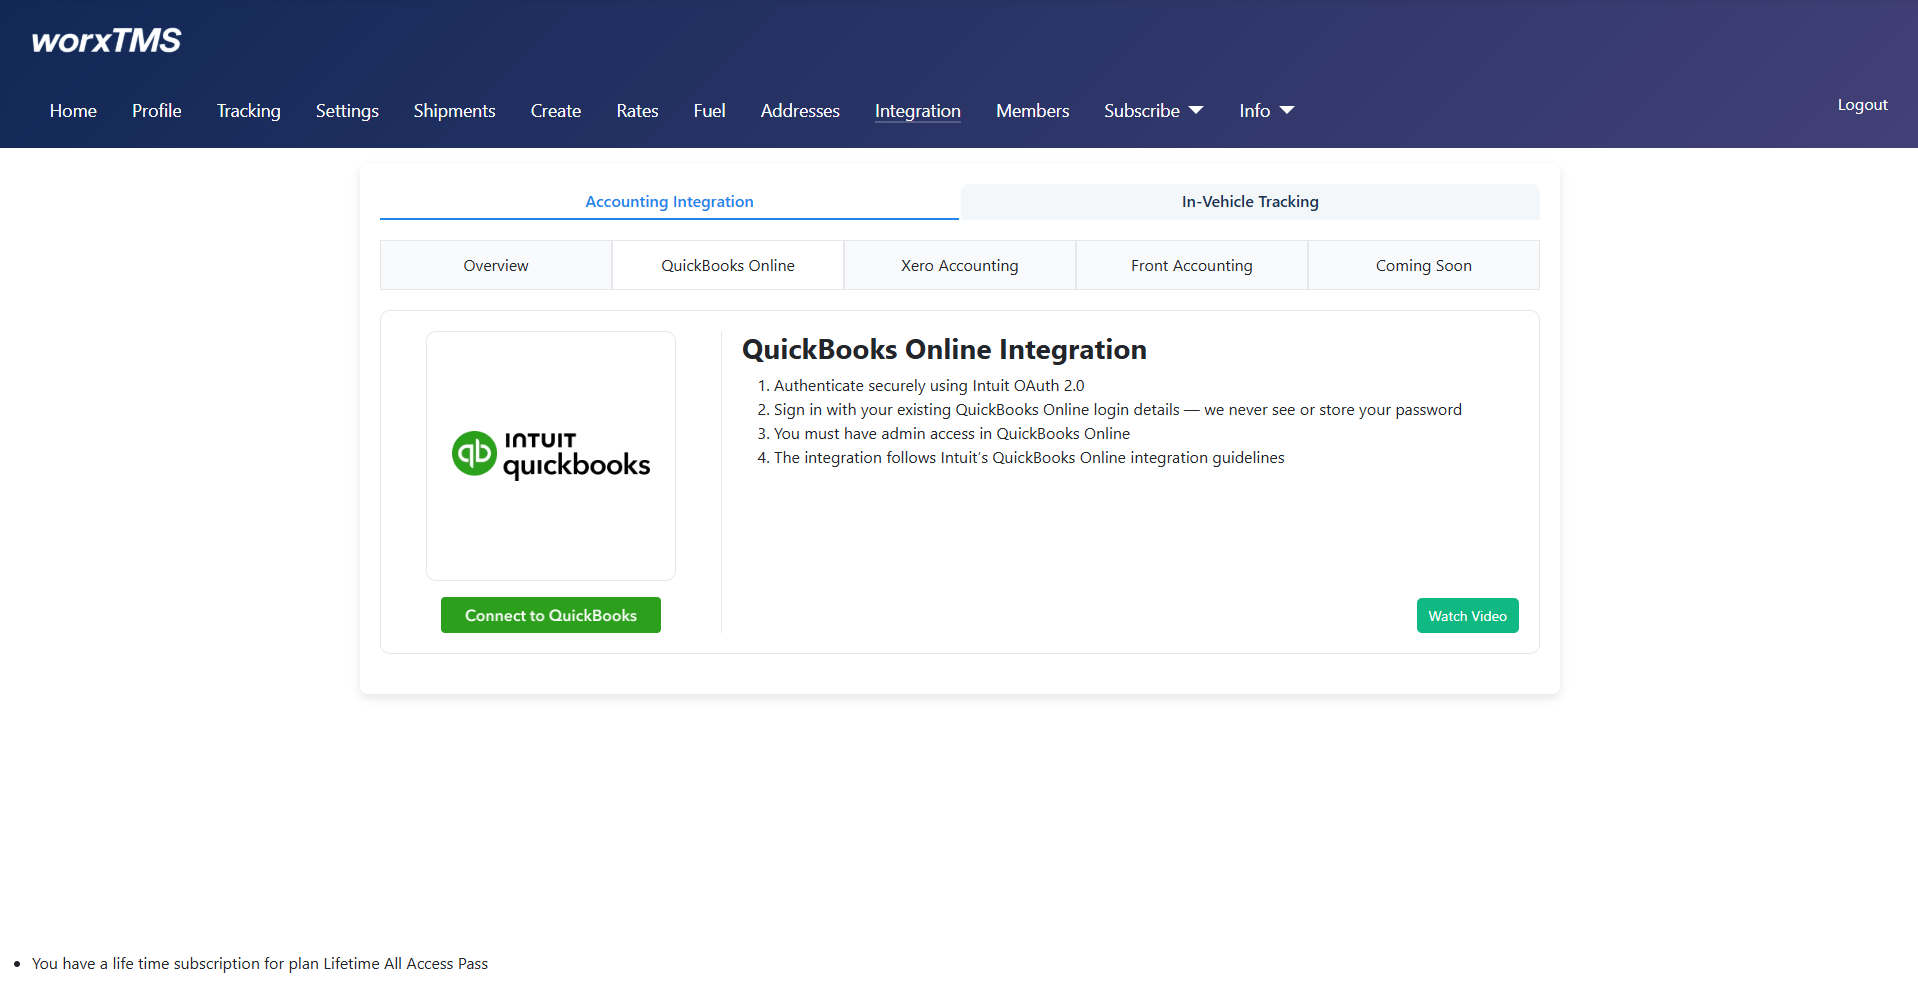
Connect to QuickBooks
Start the integration by clicking Connect to QuickBooks. This begins the connection process and allows you to select the QuickBooks Online company you want to connect to worxTMS.
2
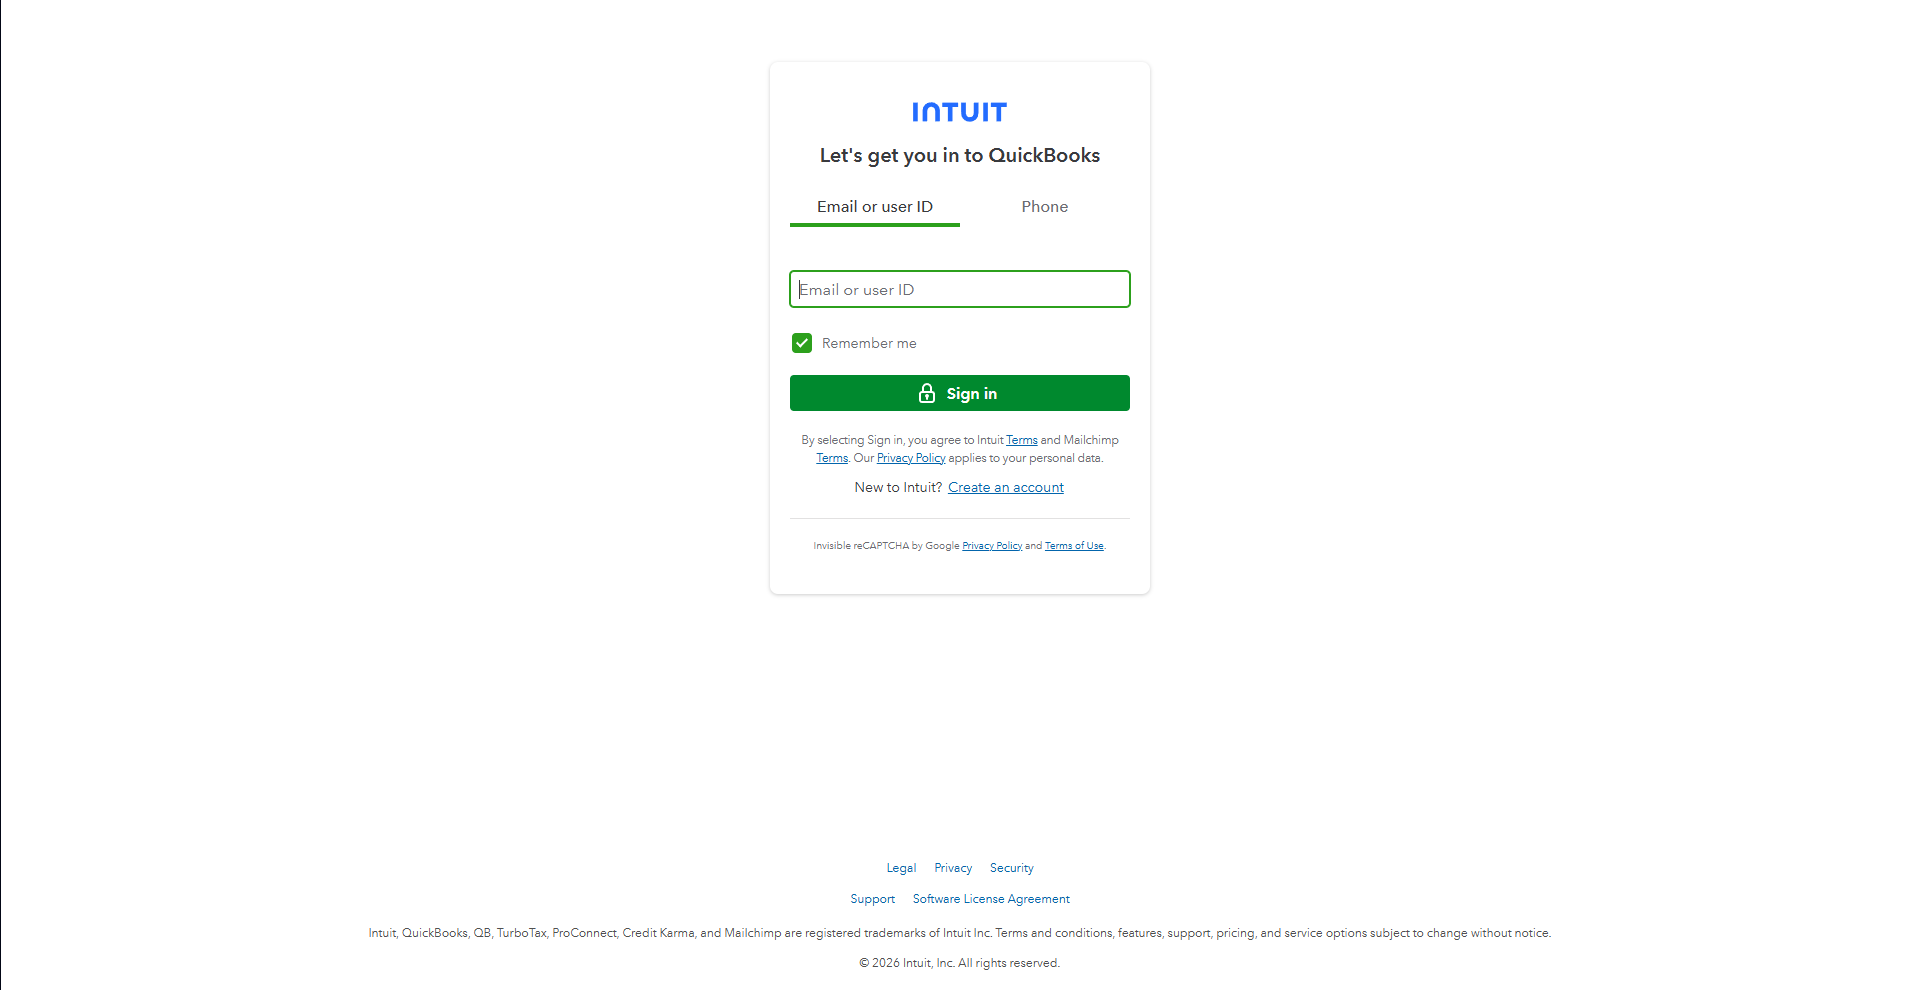
Enter your Email or ID
QuickBooks will ask for your Intuit account email or ID. Enter the details associated with your QuickBooks Online account.
3
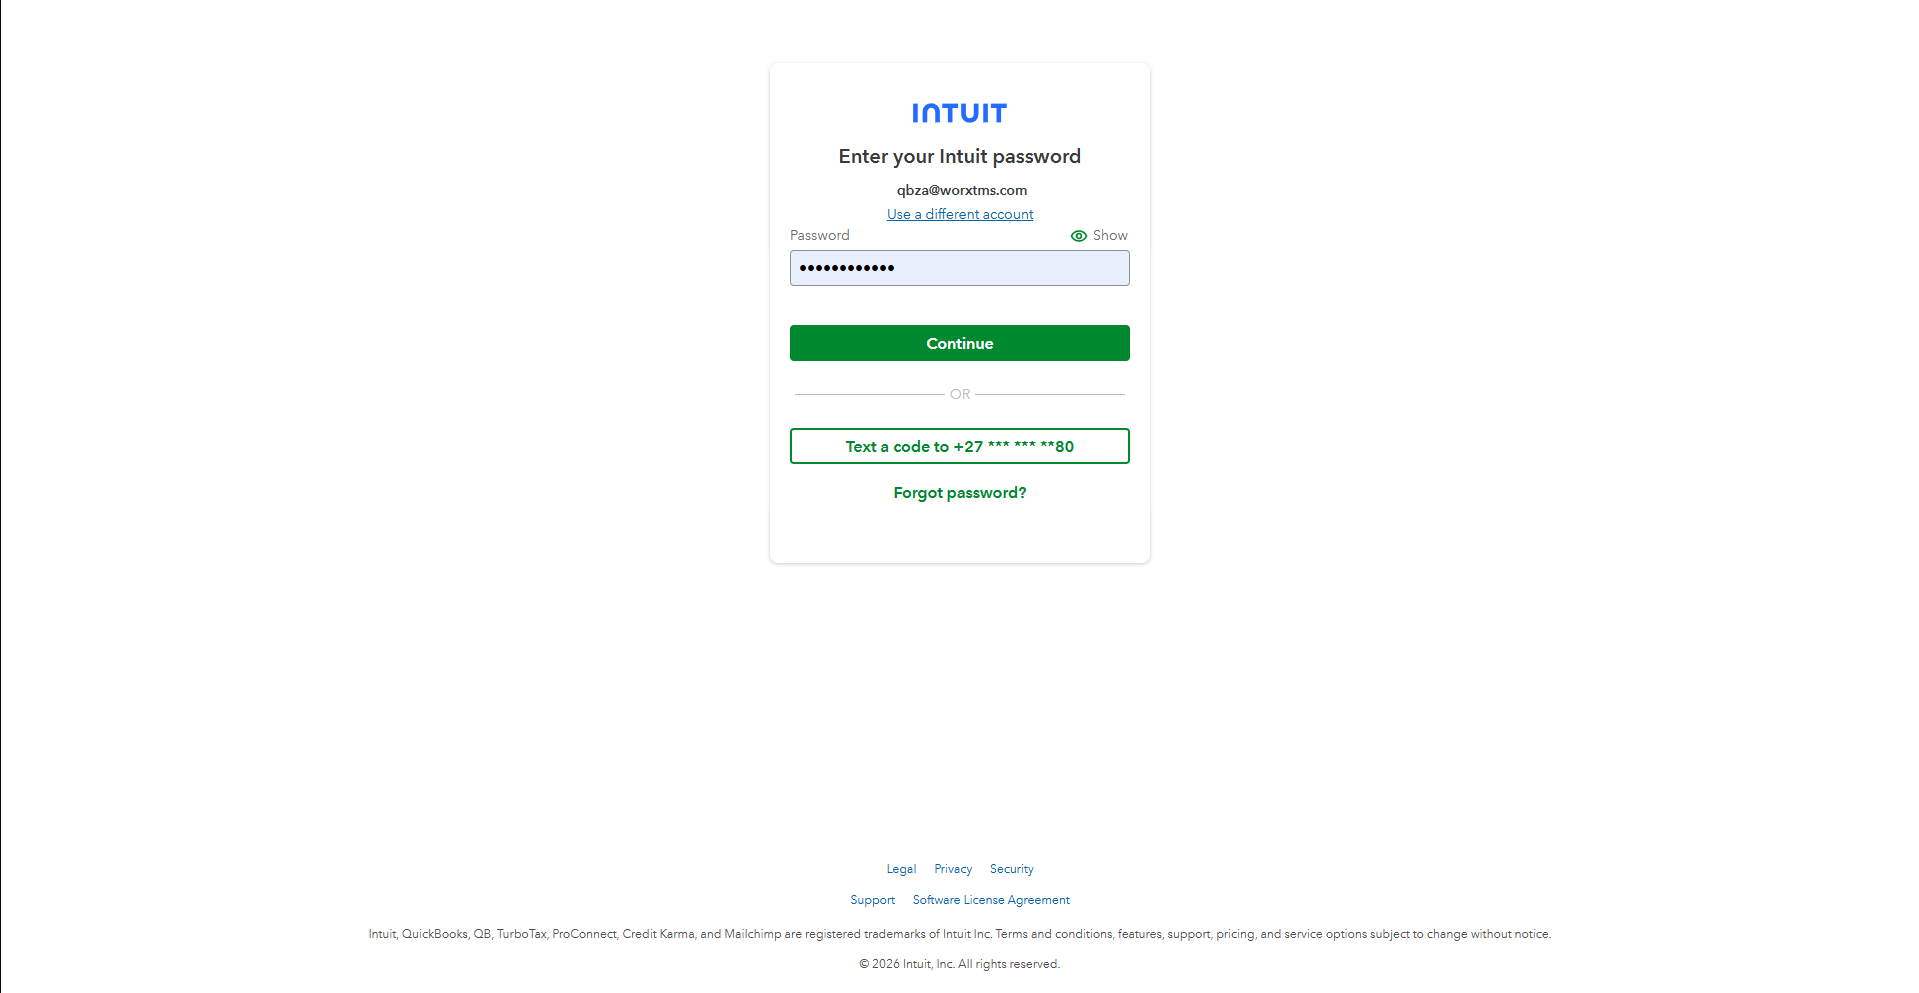
Enter Your Password
Enter your Intuit account password to complete the authentication process.
4
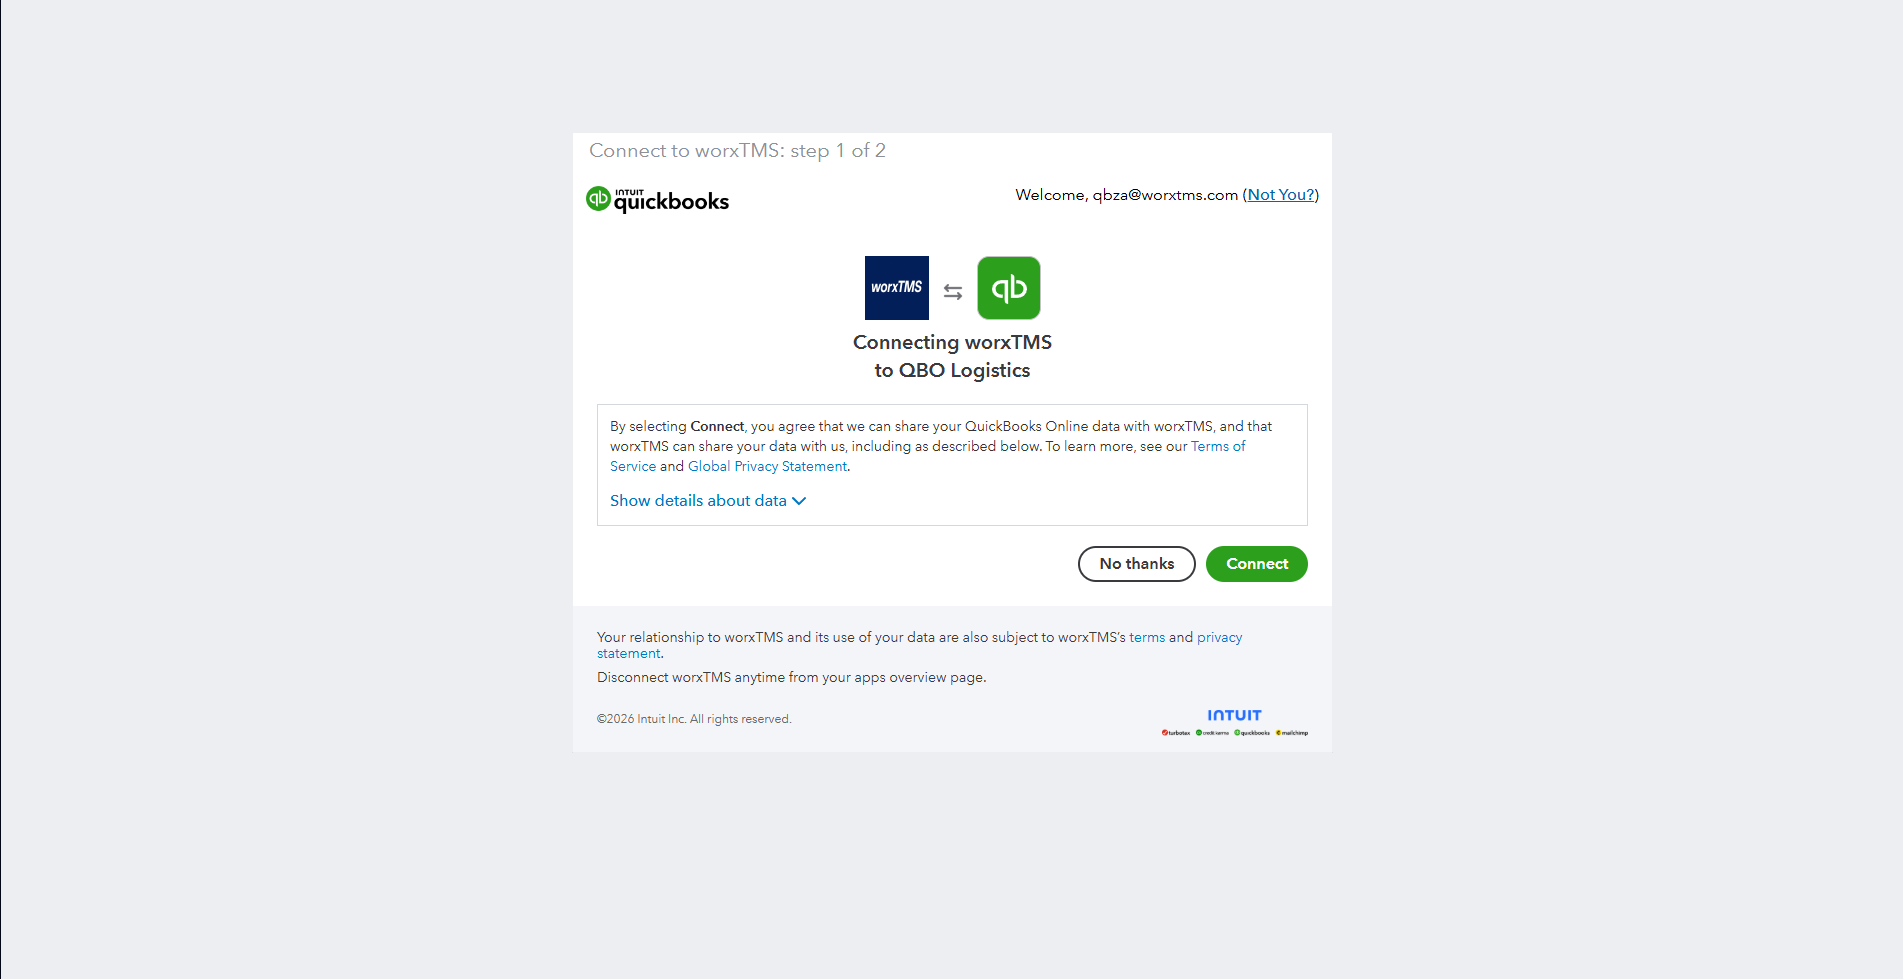
Allow worxTMS Access
QuickBooks will display the app consent screen. Review the connection and approve access so worxTMS can connect to your selected QuickBooks Online company.
5
QuickBooks Online is Connected
After successful authorisation, worxTMS will confirm that your QuickBooks Online account is connected. You will also have the option to disconnect the integration if required.
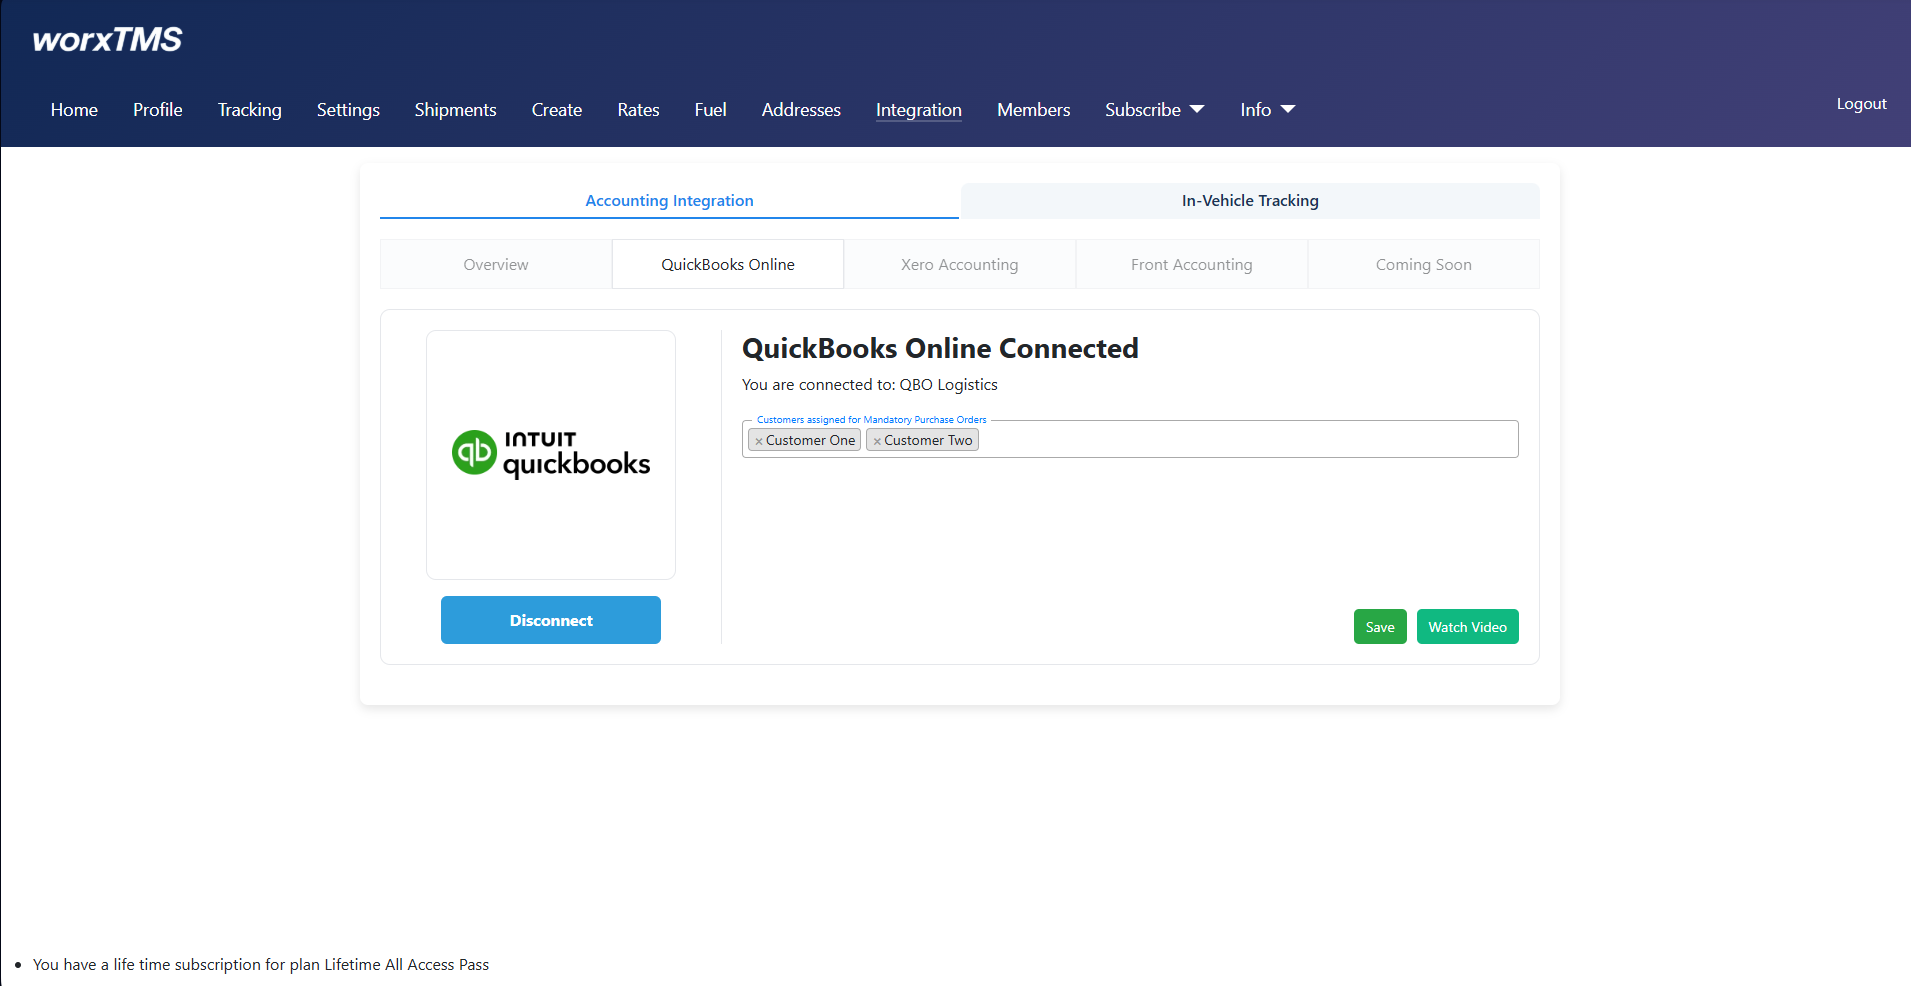
Complete These 3 Setup Steps
After connecting, you will be returned to the Connected page. Before you start dispatching, complete these three setup steps:
- Add customers that require mandatory Purchase Orders
If any of your customers require a Purchase Order (PO) number for invoicing, add them here so worxTMS can enforce this requirement automatically. - Select the products/services you want to use in worxTMS
If your QuickBooks Online account contains many products and services, select only the ones you plan to use in worxTMS. - Select your Fuel Surcharge item
Choose the Fuel Surcharge product/service from your QuickBooks Online account. When a shipment includes a fuel surcharge, worxTMS will automatically add it as a separate line item on the invoice.
Turn Off "Custom Transaction Numbers"
For smooth integration, QuickBooks Online users must ensure that Custom Transaction Numbers are turned OFF.
Leaving Custom Transaction Numbers enabled may cause invoice numbering conflicts or duplicate invoice errors because worxTMS creates invoices directly in QuickBooks Online.
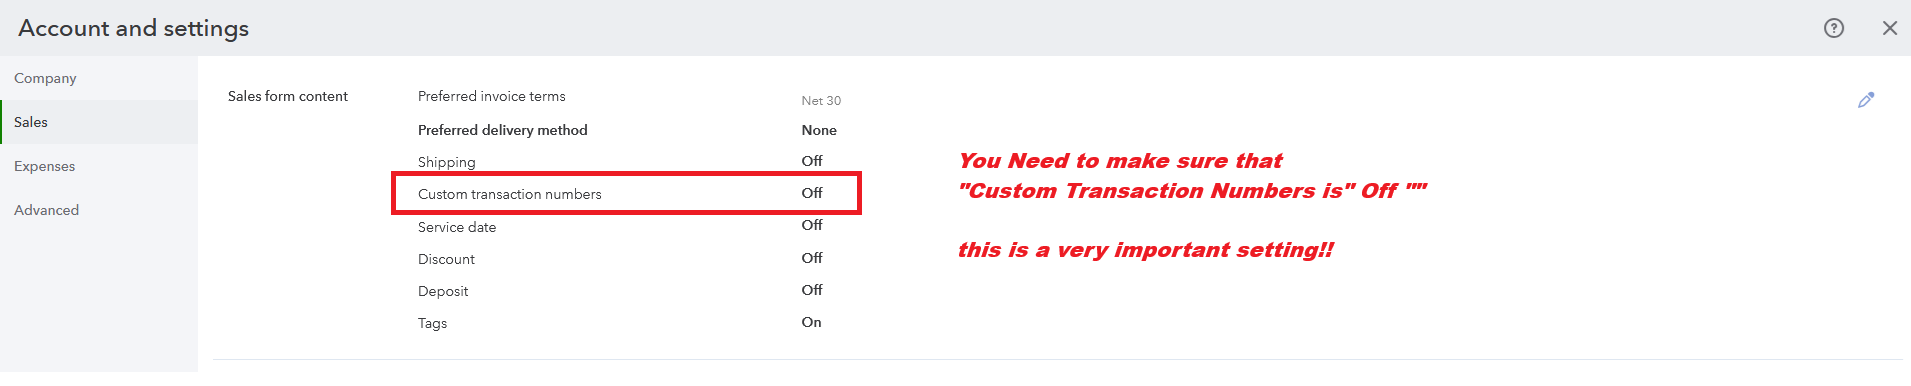
To turn it off:
- Go to Settings > Account and Settings.
- Select Sales from the left menu.
- Under Sales form content, find Custom transaction numbers.
- Make sure it is Turned OFF.
Tip: Turning this off allows QuickBooks Online to auto-assign invoice numbers and helps keep invoice numbering synchronised with worxTMS.
Invoice Print Settings / Customisation
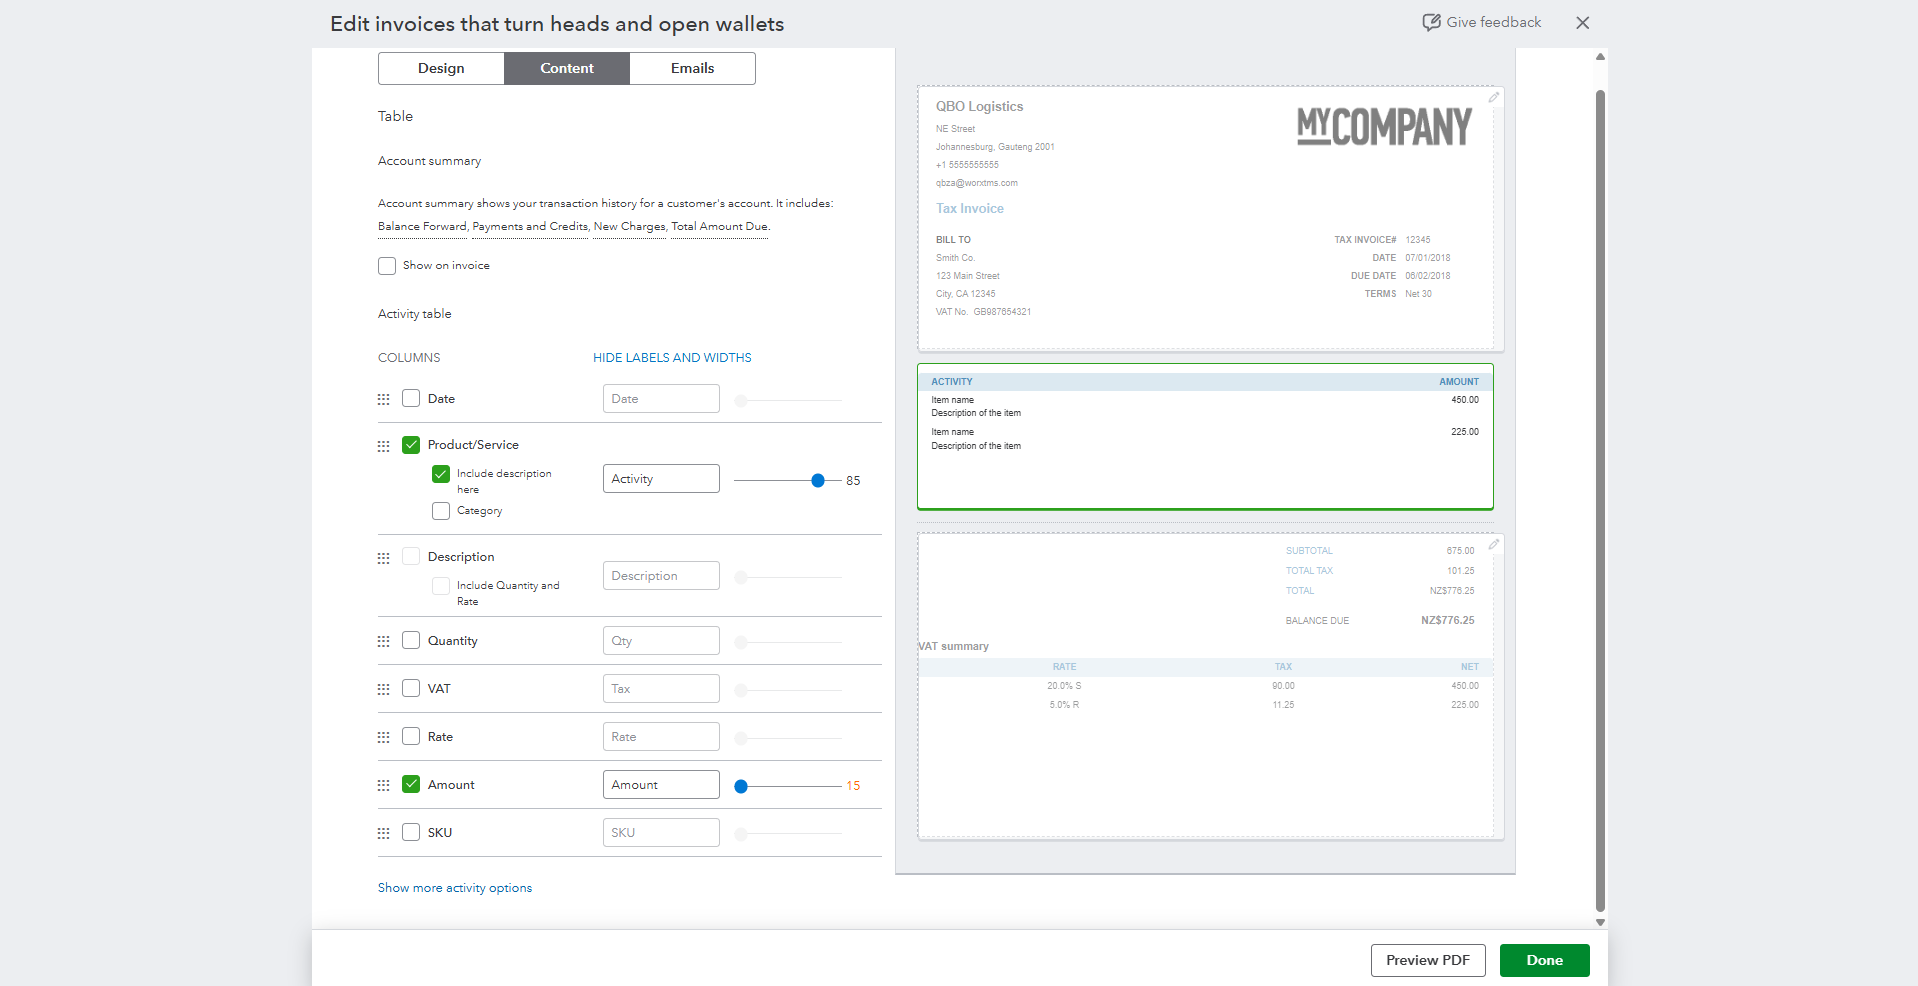
This section shows the QuickBooks Online invoice print and customisation settings. You can use these settings to adjust your invoice layout, including margins, logo placement, header and footer settings, and column widths.
Use the layout settings to adjust your printed invoices so they match your preferred branding and spacing.
Delete or Update an Invoice
If you need to delete an invoice that has already been created, simply Void or Delete it in QuickBooks Online.
worxTMS will detect the change and can:
- Remove the invoice from worxTMS so you can create it again without conflicts.
- Update changes to Customer Ref / Order Number made in QuickBooks Online.
- Synchronise updated pricing, service or totals back to worxTMS.
Tip: If you have already created the invoice but only need to change the Price, Ref No, Service or other invoice details, you do not need to void or delete the invoice. Simply update the invoice in QuickBooks Online and the changes will be sent back to worxTMS.
✓ QuickBooks Online Integration Complete
Your worxTMS account is now connected to QuickBooks Online. You can continue setting up worxTMS and begin using the accounting integration with your shipments and invoices.
Connect once. Let worxTMS and QuickBooks Online keep your invoice information synchronised as you work.