QuickBooks Online Integration – Categories, Items & Invoice Sync | worxTMS.com
Transport Management Software for QuickBooks Online
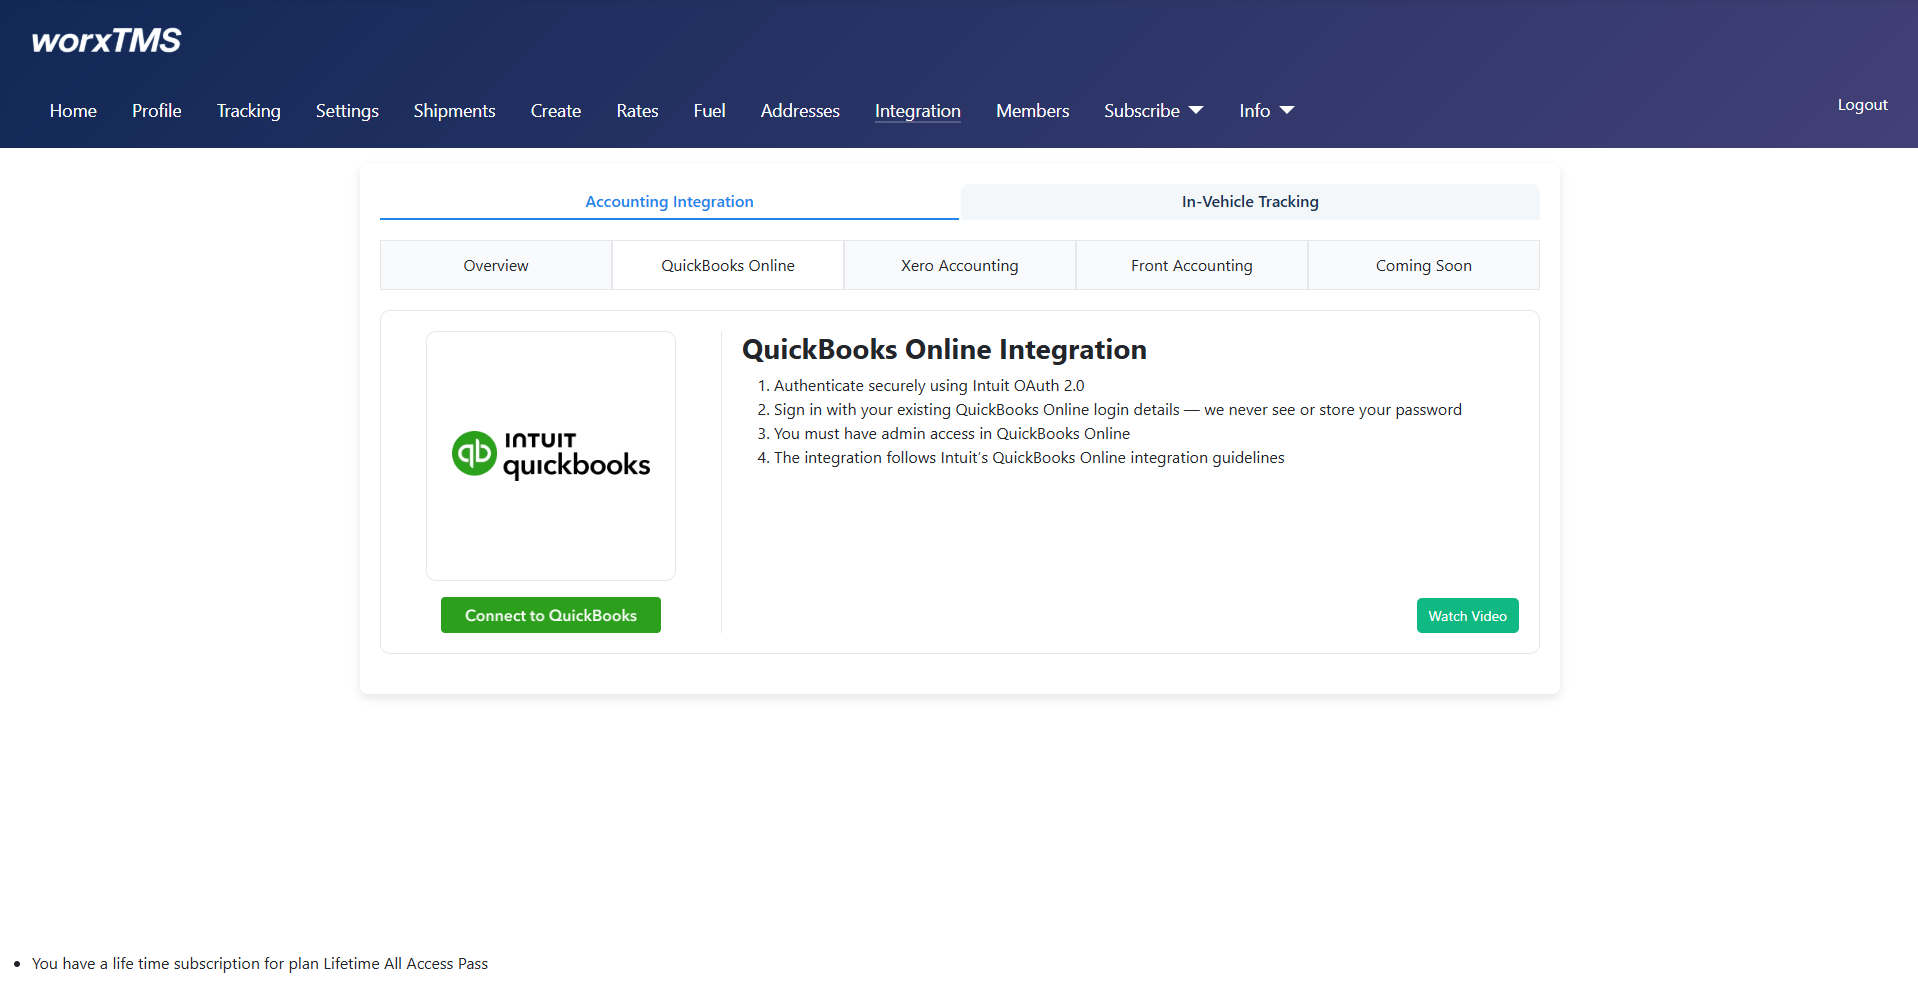
Start integrating worxTMS.com with your QuickBooks Online Accounting Software for Transport and Logistics. Step 1 is easy—no technical skills needed. This step ensures worxTMS knows exactly where to fetch your data: Customers, Suppliers, and Services. Drivers and Vehicles are now added inside worxTMS (no QuickBooks categories required).
Watch: QuickBooks Online Integration Video
Connect to QuickBooks
Enter your Email or ID

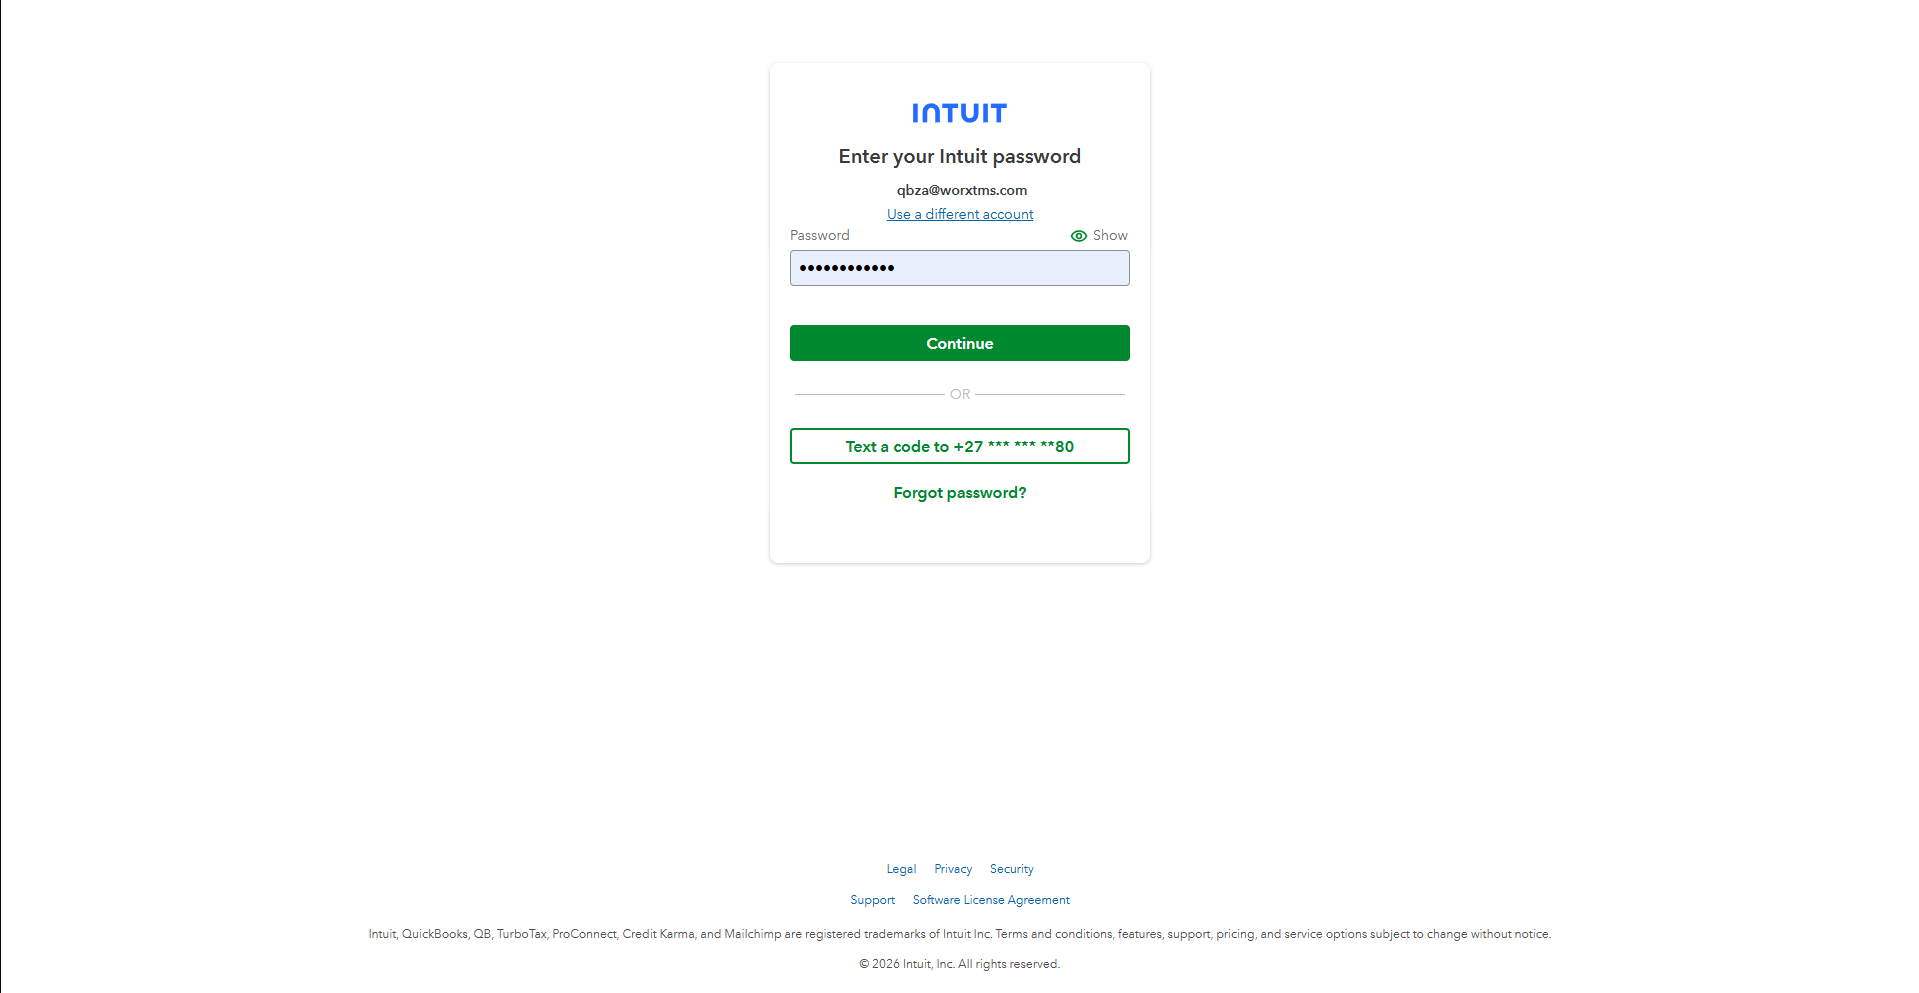
Enter Your Password
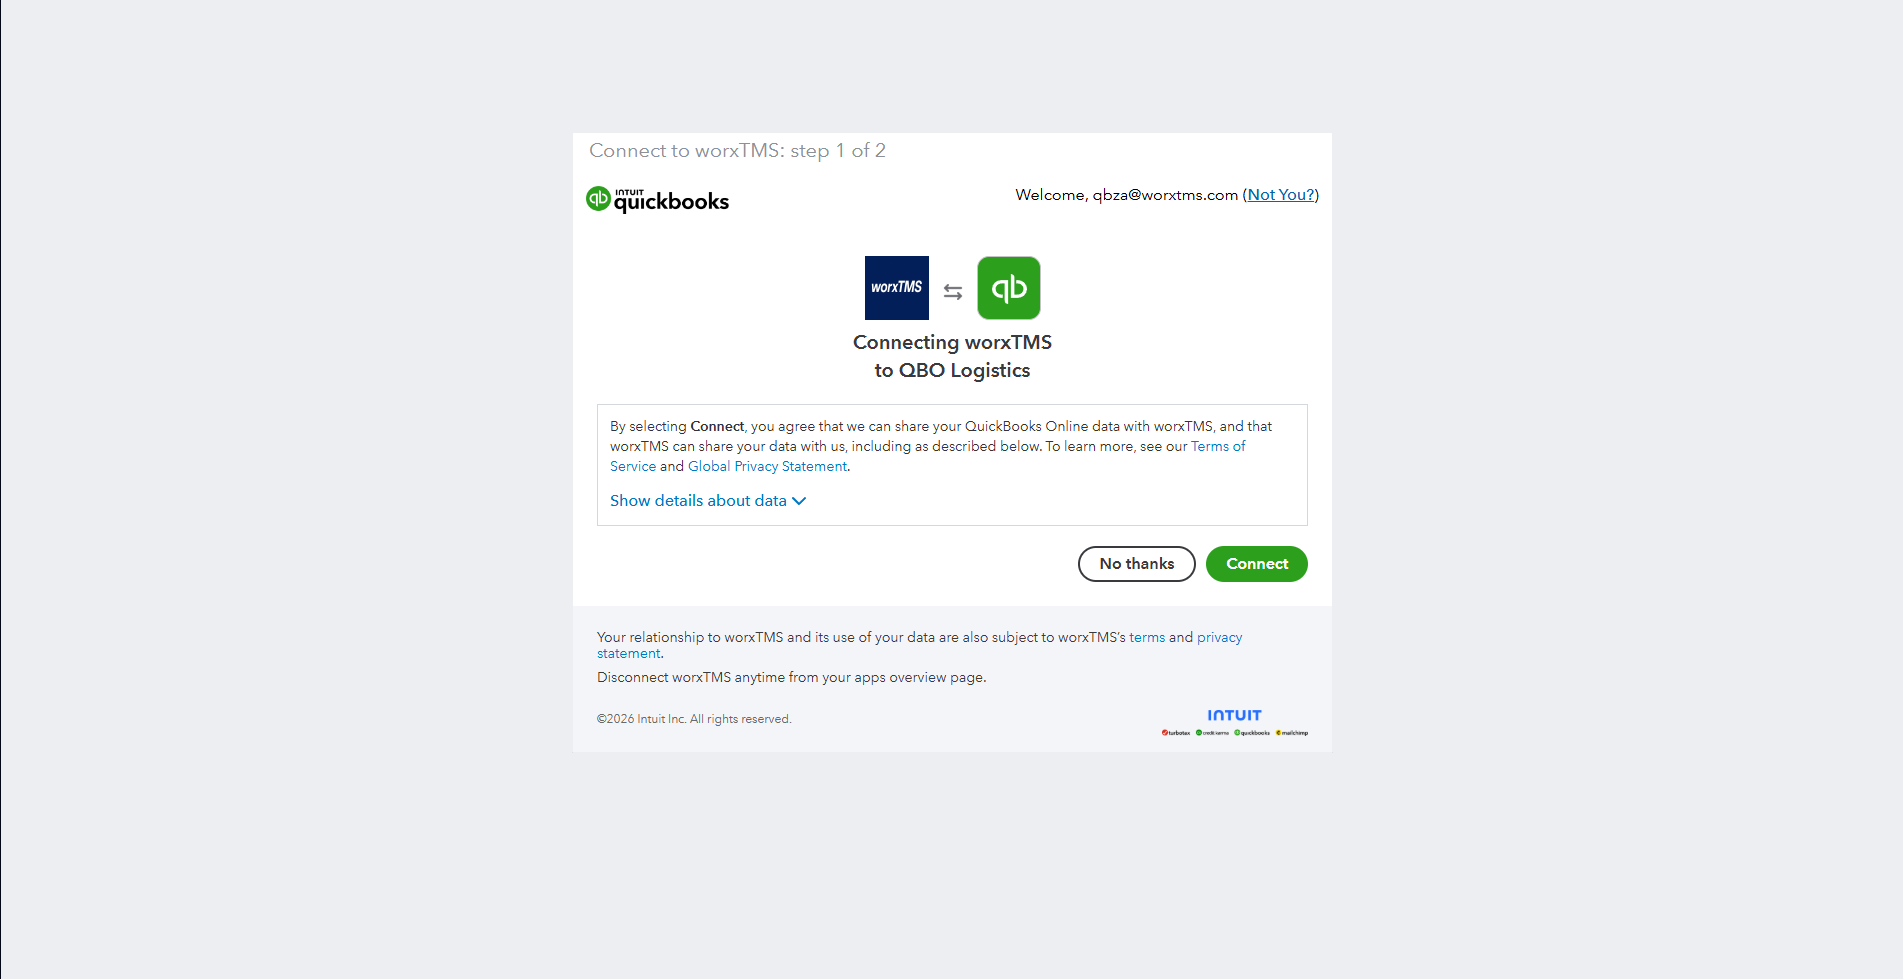
App Consent — worxTMS + QuickBooks
Connected — with Disconnect Option
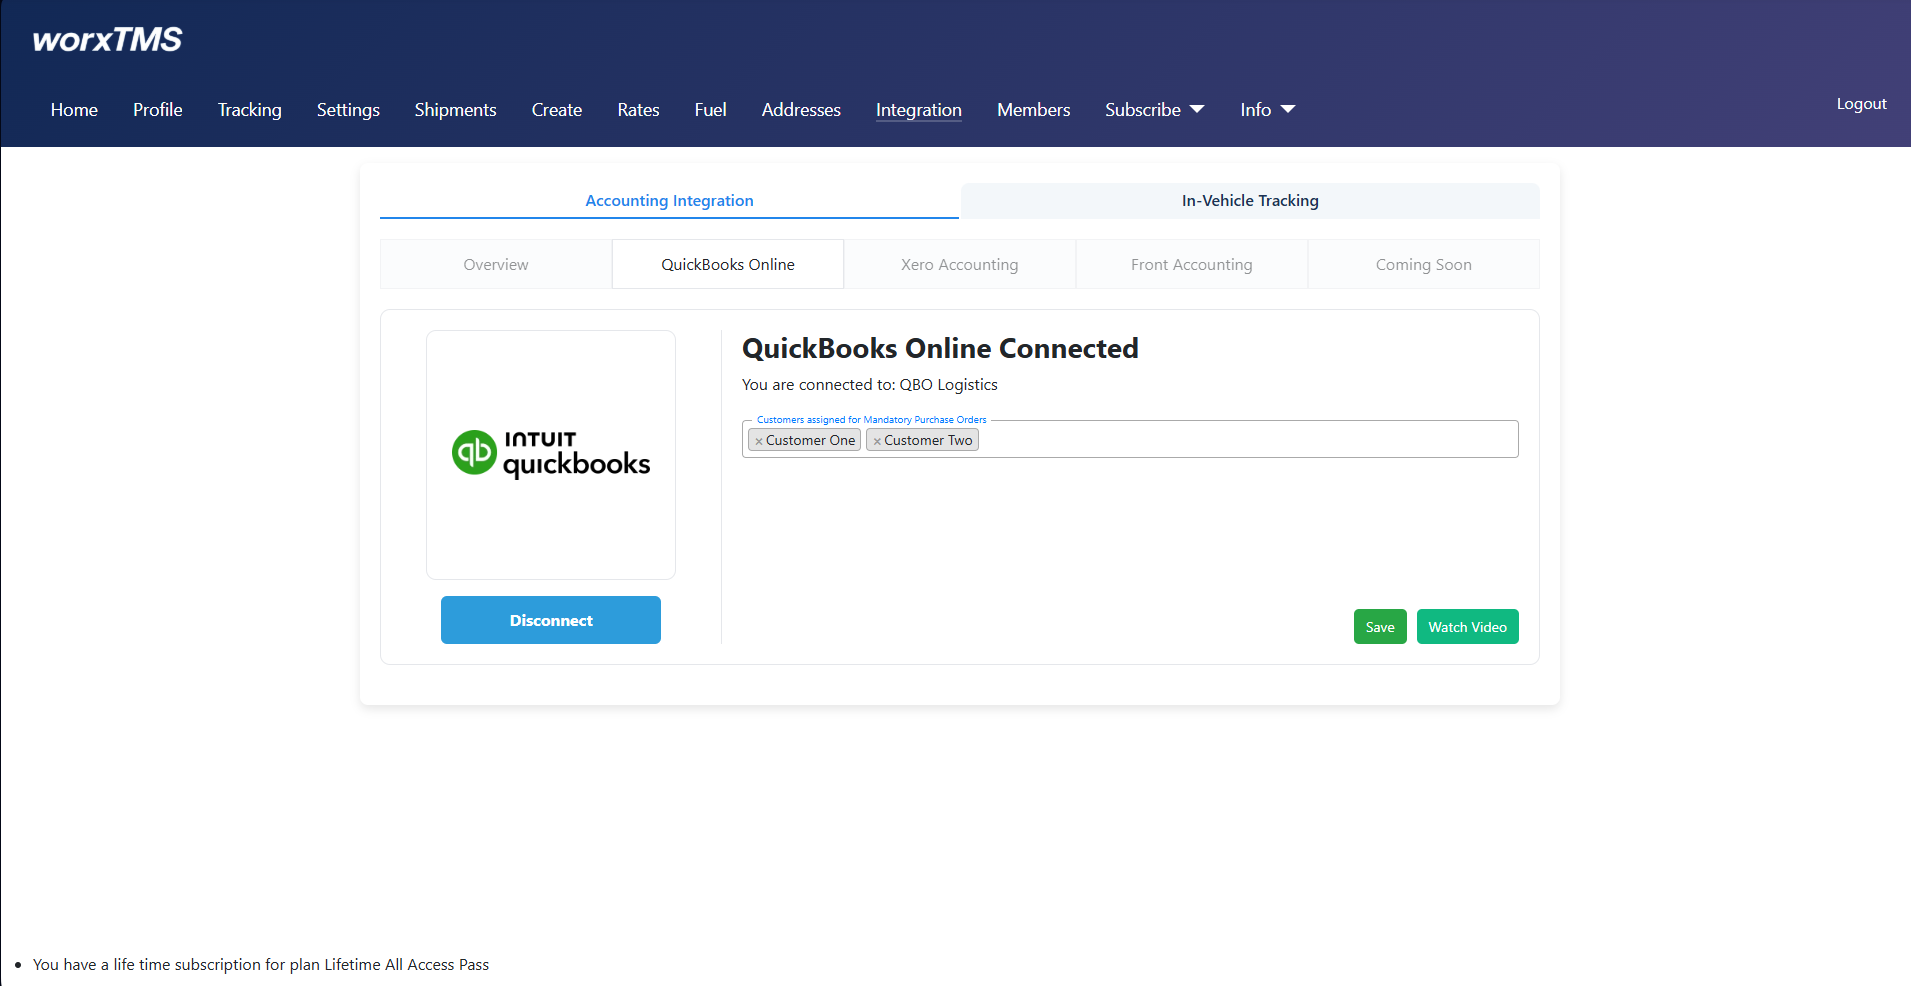
- Add customers that require mandatory Purchase Orders
If any of your customers require a PO number for invoicing, add them here so worxTMS can enforce this rule automatically. - Select the services/items you want to use in worxTMS
If your QuickBooks Online account contains many products/services, simply click and add only the ones you plan to use in worxTMS.
Turn Off "Custom Transaction Numbers"
For smooth integration, QuickBooks Online users must ensure that Custom Transaction Numbers are turned OFF. Leaving it on may cause conflicts or duplicate invoice errors, since worxTMS will be pushing invoices directly.
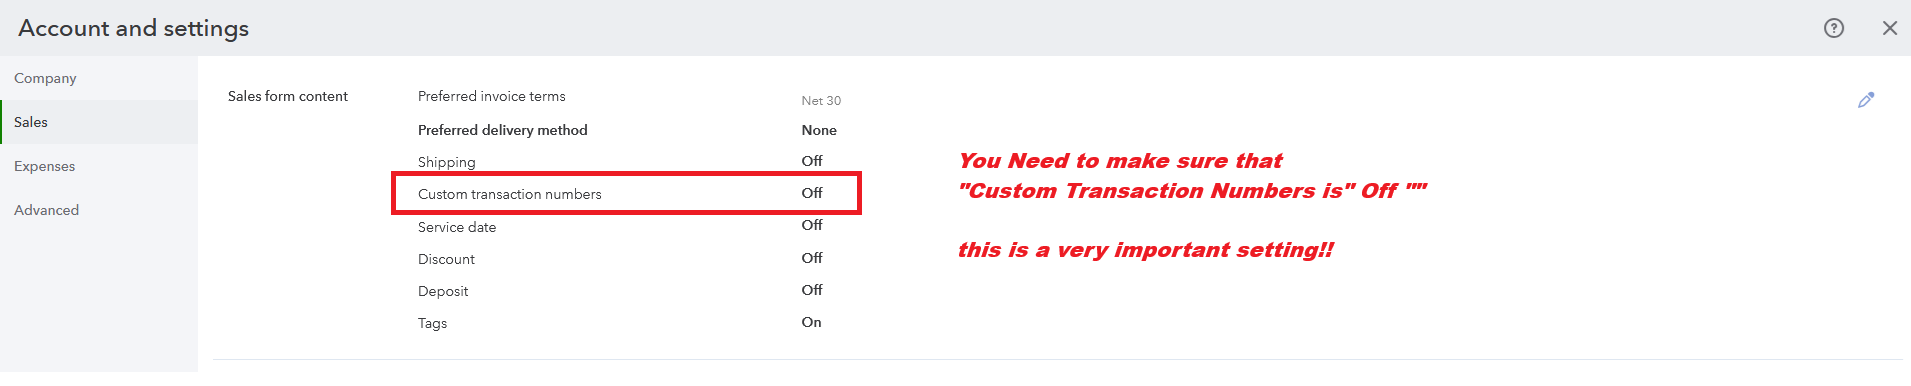
- Go to ⚙️ Settings > Account and Settings.
- Select Sales from the left menu.
- Under Sales form content, find Custom transaction numbers.
- Make sure it is Turned OFF.
Invoice Print Settings / Customisation
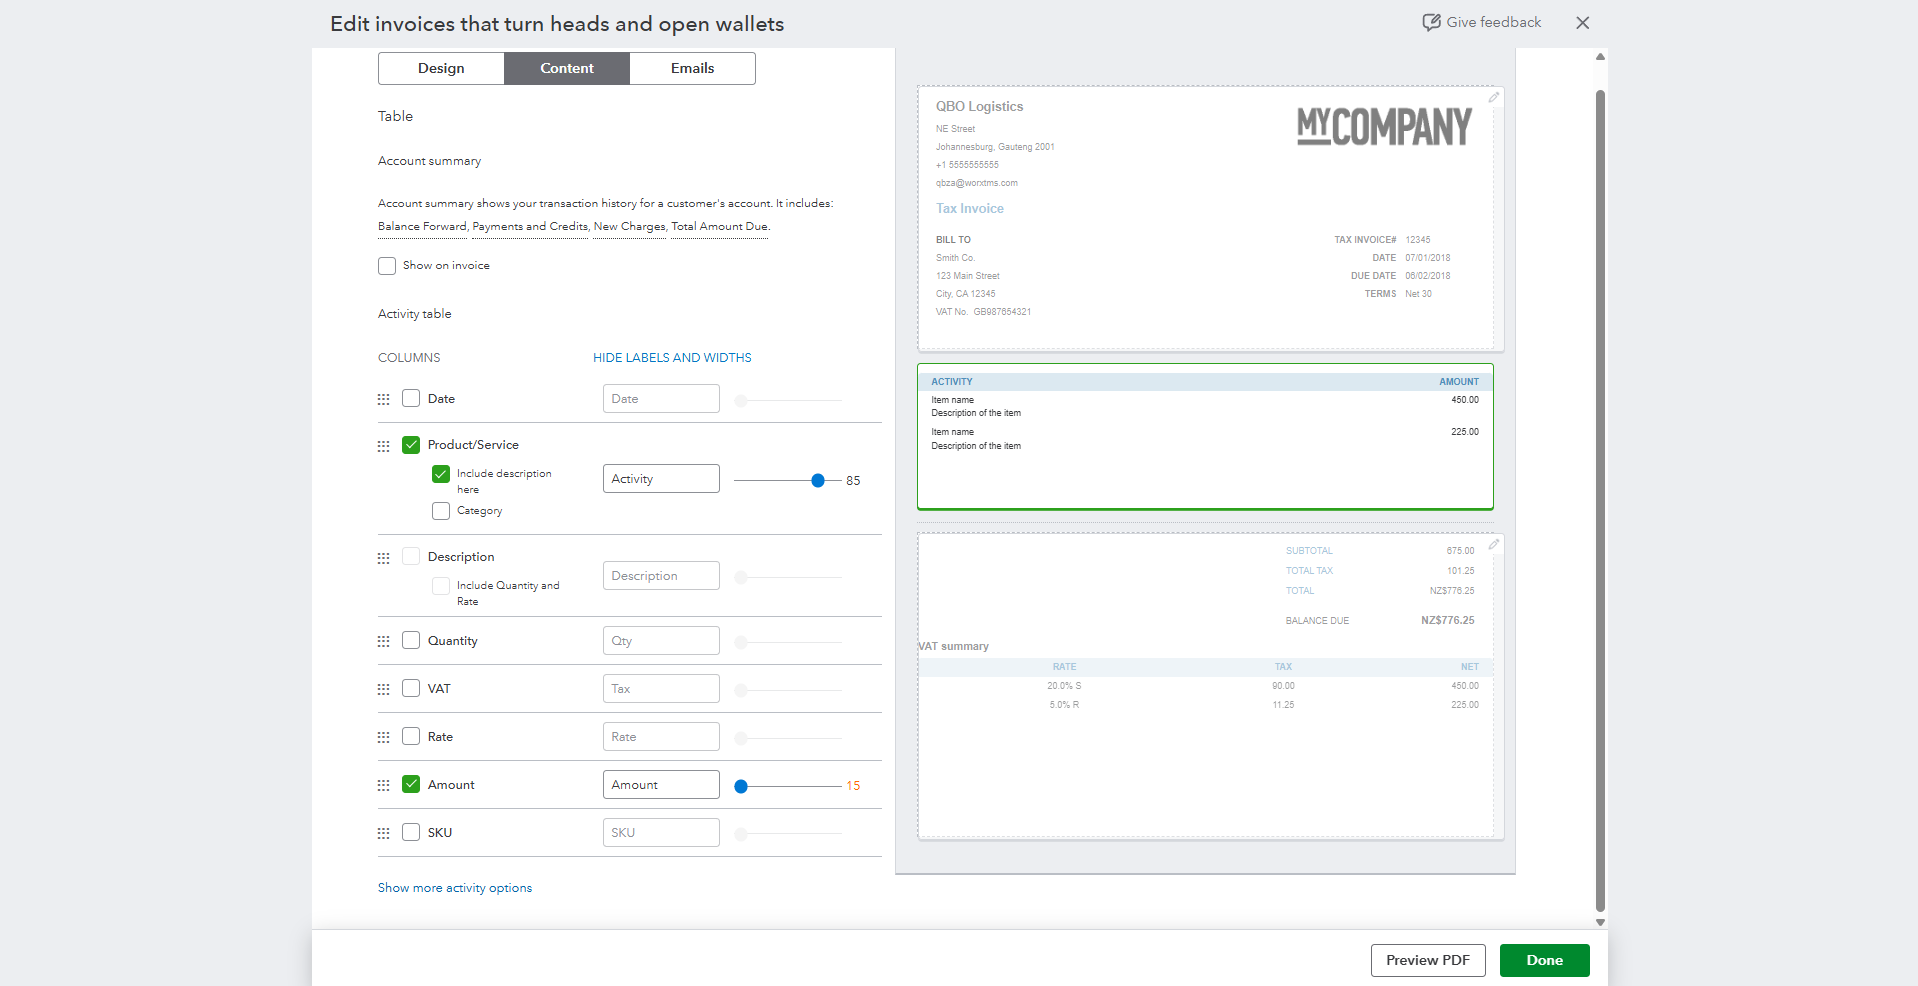
This shows the QuickBooks / Print layout settings and customisation I use to get invoices to print nicely (margins, logo placement, header/footer adjustments, and column widths). Use this as a reference when adjusting your own print layout so printed invoices match your branding and spacing expectations.
Delete or Update an Invoice
If you need to delete an invoice already created, simply Void or Delete it in QuickBooks Online. worxTMS will automatically detect the change and:
- Remove the invoice from worxTMS so you can create it again without conflicts.
- Update any changes to Customer Ref / Order Number made in QuickBooks Online.
- Sync updated pricing, service, or totals back to worxTMS automatically.
Even easier: If you’ve already created the invoice but only need to change the Price, Ref No, Service, or other details, there’s no need to void or delete. Simply update the invoice in QuickBooks Online, and these changes will be sent to worxTMS automatically. No worries about data mismatches, duplicates, or manual updates!
Watch: Shipment to POD & Invoice — Walkthrough
Like what you see?
Try worxTMS free for 30 days — no cost, no credit card needed. Get full access to shipments, tracking, and QuickBooks integration so you can see how it works for your business.
Start 30-Day Free Trial